
All guides
- Install on macOS
- Install on Windows
- Install on Linux
- Getting started
- Your first scene
- Chat, overlays and alerts
- Going live
- Streaming to Velora with VELoQ
- Recording and the replay buffer
- Transitions and studio mode
- Screenshots
- Automations and hotkeys
- Themes and Theme Studio
- Stream Deck, Touch Portal and Companion
- Face tracking with Velum Avatars
- Updates
- Velum Gauges
- Games and what you need
- Forza Horizon 4, 5 and 6
- Forza Motorsport
- F1 23, F1 24 and F1 25
- American Truck Simulator and Euro Truck Simulator 2
- X-Plane 11 and 12
- Microsoft Flight Simulator 2020 and 2024
- Two PCs: gaming and streaming
- When Velum Gauges hears nothing
Guides › Install
Install on macOS
Open the disk image, drag Velum Studio to Applications, and allow what you'll use.
Velum Studio for the Mac comes as a disk image (a .dmg file). It's signed and notarized by Legendre Media Inc., so macOS knows where it came from. You need macOS 13 or later.
Install
- Get the disk image from the Download page.
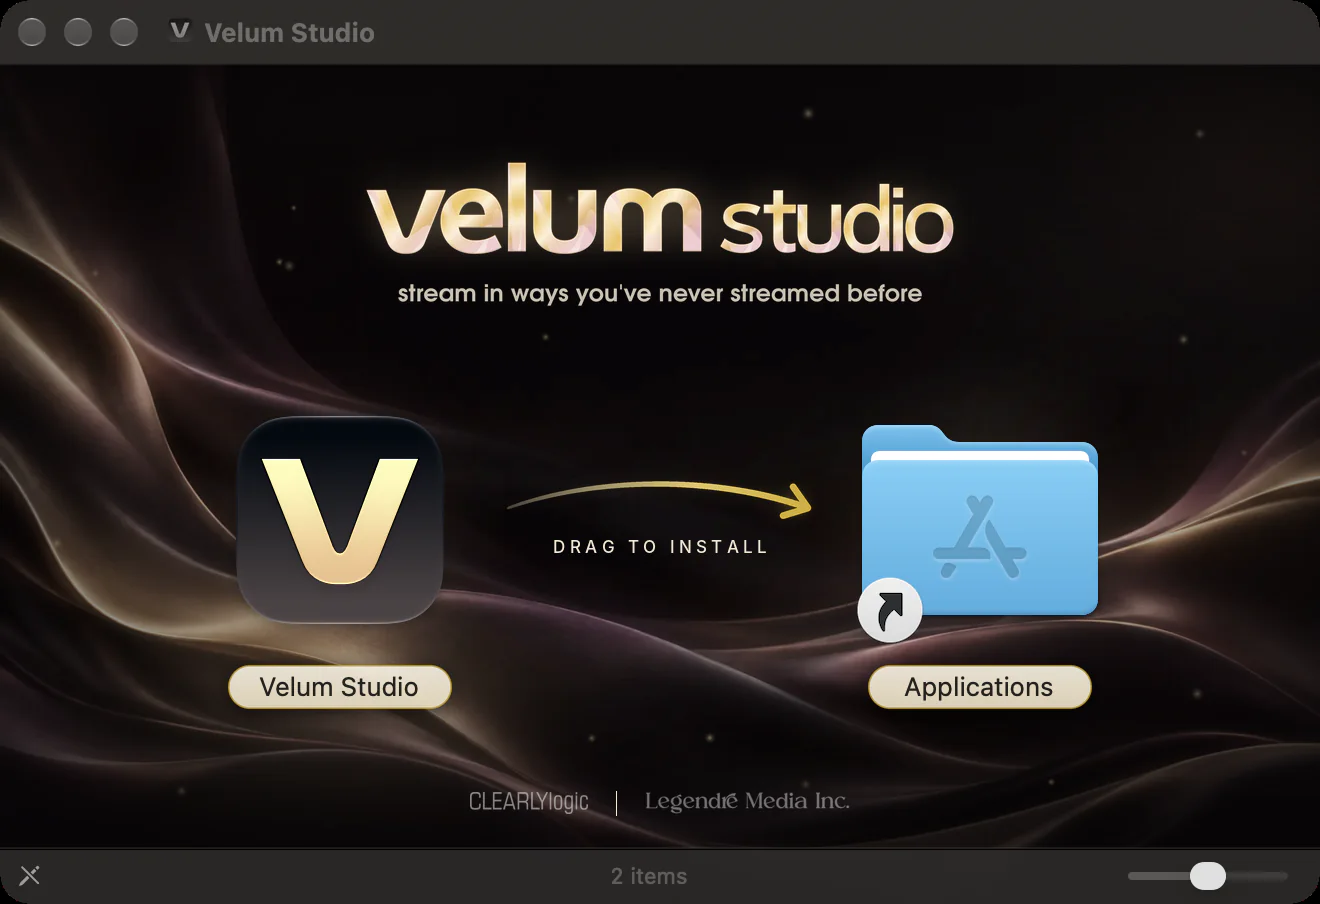
- Open the downloaded file. A window opens with Velum Studio on the left and your Applications folder on the right.
- Drag Velum Studio onto Applications.
- Eject the disk image (the Eject button next to it in the Finder sidebar). You can delete the
.dmgfile afterwards. - Open Velum Studio from your Applications folder, Launchpad or Spotlight. The first time, macOS reminds you it came from the internet; choose Open.
Keep Velum Studio in Applications. The Velum Studio Camera only works from there, because macOS installs camera extensions only for apps in Applications.
The first launch
The first time you open it, Velum Studio shows Set up Velum Studio: a short list of what it may ask your Mac for, and why. Velum Studio never asks for anything on its own; you choose what to allow, and you can allow the rest later.
| Permission | What it's for |
|---|---|
| Cameras and capture cards | Your webcam, or a capture card for a console or a second computer. |
| Microphones | Hearing your microphone, and putting it in your stream and recordings. |
| Screen and app audio | Showing a display or a window, and capturing desktop audio. macOS calls this Screen Recording. |
| Hotkeys from any app | Your automation hotkeys while another app is in front. macOS calls this Input Monitoring; Studio only watches for your hotkeys. |
| Velum Studio Camera | Using your scene as a camera in Zoom, Discord, FaceTime and other video apps. |
Press Allow next to what you'll use, and Done for now when you're finished. If something is turned off in System Settings, the row says so and Open Settings takes you to the right place. Some of these need Velum Studio to restart before they take effect.
To come back to this list any time, click the gear at the top right and choose Permissions….
The Velum Studio Camera
The Velum Studio Camera is a camera extension, which macOS asks you to approve once.
- Click Camera at the top of the window.
- The first time, Studio says the virtual camera needs a one-time setup. Choose Set up.
- macOS asks you to allow the extension. Open System Settings › General › Login Items & Extensions › Camera Extensions and turn on Velum Studio Camera.
- Click Camera again. In your video app, choose Velum Studio Camera as the camera.
After an update to the camera extension, macOS may ask you to restart your Mac to finish updating it.
Updating
Studio checks for updates by itself and tells you when one is ready. On a Mac, Quit and install quits Studio and opens the new disk image: drag Velum Studio onto Applications as before, choose Replace, and open it again. Your scenes and settings stay as they are. See Updates.